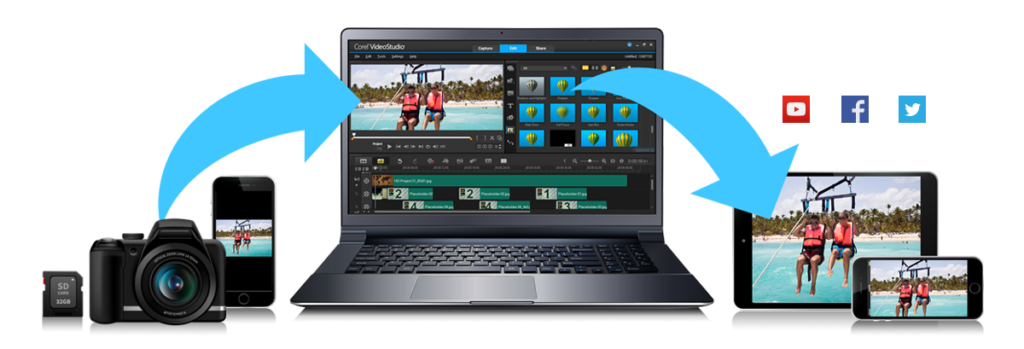
Using video on a PC involves several steps, including playing, editing, creating, and sharing video content. Here’s a comprehensive guide on how to effectively use video on your PC:
1. Playing Video
To play video files on your PC, you need a media player. Here are some popular options:
- Windows Media Player: Pre-installed on Windows PCs, it supports various video formats.
- VLC Media Player: A free, open-source media player that supports a wide range of video formats and codecs.
- MPC-HC (Media Player Classic – Home Cinema): A lightweight media player that is easy to use and supports many formats.
- PotPlayer: A versatile media player with extensive customization options and support for various formats.
Steps to Play a Video:
- Install a Media Player: If you don’t have one, download and install a media player of your choice (e.g., VLC).
- Open the Media Player: Launch the media player application.
- Open the Video File:
- Click on “File” > “Open File” (or similar option).
- Browse to the location of the video file on your PC and select it.
- Play the Video: Click the “Play” button to start watching the video.
2. Editing Video
To edit video files, you can use video editing software. Here are some popular options:
- Windows Video Editor: A basic video editing tool included with Windows 10 and later.
- Adobe Premiere Pro: A professional video editing software with advanced features.
- DaVinci Resolve: A powerful free video editing software with professional-grade features.
- Shotcut: A free, open-source video editor that is user-friendly and supports various formats.
Steps to Edit a Video:
- Install Video Editing Software: Download and install your chosen video editing software.
- Import Video Files:
- Open the video editing software.
- Import the video files you want to edit (usually through a menu option like “Import” or “Add Media”).
- Edit the Video:
- Use the timeline to arrange clips, trim sections, and add transitions, effects, and audio.
- Preview your edits in the software’s playback window.
- Export the Edited Video:
- Once you’re satisfied with your edits, export the video to your desired format (e.g., MP4, AVI).
- Choose the resolution and quality settings as needed.
3. Creating Video
You can create videos using screen recording software or video creation tools. Here are some options:
- OBS Studio: A free, open-source software for screen recording and live streaming.
- Camtasia: A paid software that allows for screen recording and video editing.
- Windows Game Bar: A built-in tool in Windows 10 and later for screen recording.
Steps to Create a Video:
- Install Screen Recording Software: Download and install your chosen screen recording tool.
- Set Up Recording:
- Open the software and configure the recording settings (e.g., screen area, audio input).
- Start Recording:
- Click the “Record” button to start capturing your screen.
- Perform the actions you want to record.
- Stop Recording: Click the “Stop” button when you’re finished.
- Edit and Save: Edit the recorded video if needed, then save it in your desired format.
4. Sharing Video
To share videos, you can use various platforms and methods:
- Email: Attach the video file to an email (consider file size limits).
- Cloud Storage: Upload the video to cloud storage services like Google Drive, Dropbox, or OneDrive and share the link.
- Social Media: Share videos directly on platforms like YouTube, Facebook, Instagram, or TikTok.
- Video Conferencing: Use platforms like Zoom or Microsoft Teams to share your screen or video during meetings.
Steps to Share a Video:
- Choose a Sharing Method: Decide how you want to share the video (email, cloud, social media).
- Upload or Attach the Video:
- For email, attach the video file.
- For cloud storage, upload the video and generate a shareable link.
- For social media, follow the platform’s upload process.
- Share the Link or Post: If using cloud storage or social media, share the link or post the video for your audience to view.
Conclusion
Using video on a PC involves playing, editing, creating, and sharing content. By utilizing the appropriate software and following the outlined steps, you can effectively manage video files for personal, educational, or professional purposes. Whether you’re watching a movie, editing a project, or creating content, understanding